
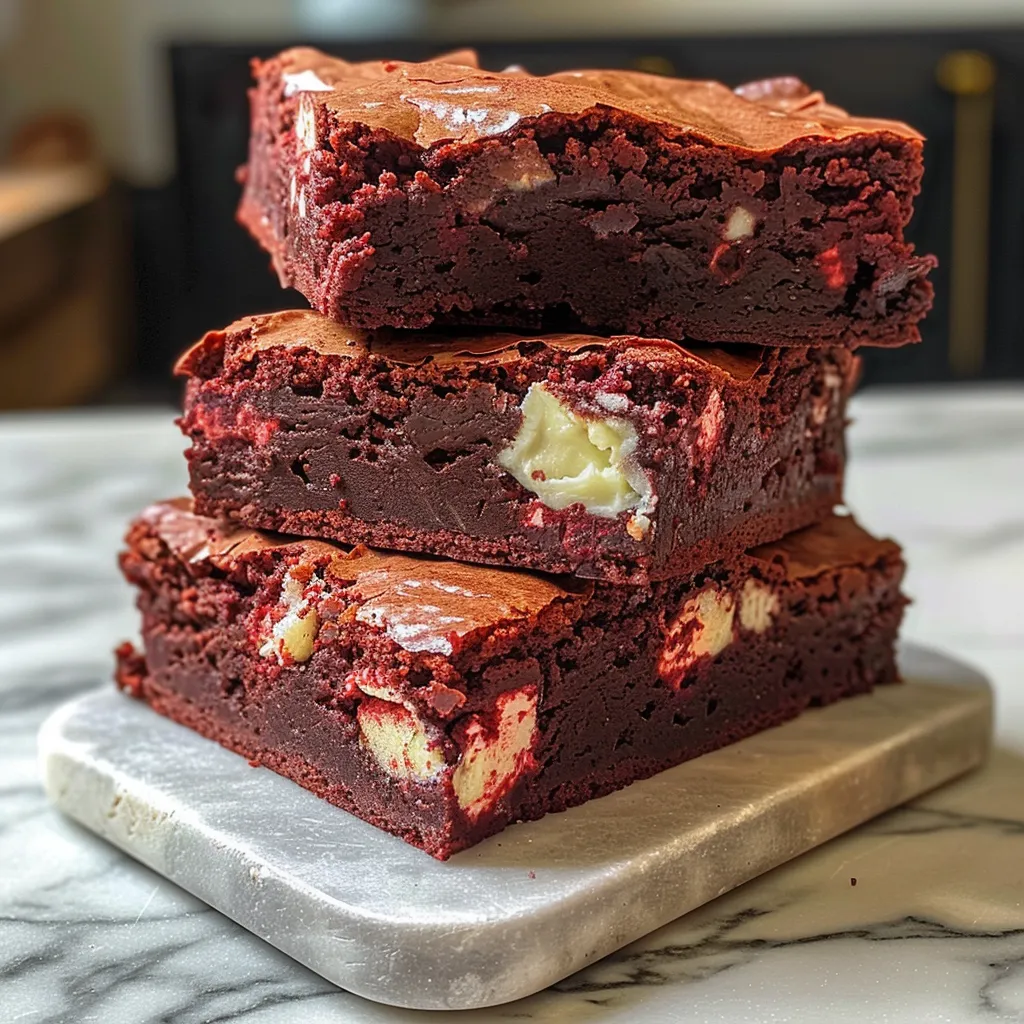
Indulge in Gordon Ramsay Red Velvet Brownies
If you’re craving something rich and decadent, these Gordon Ramsay Red Velvet Brownies are your answer. They’re not just brownies; they’re a chocolatey, velvety experience that’ll make your taste buds sing. In this post, I’ll share my personal journey with this recipe, some Ramsay-inspired techniques, and how you can whip these up in your own kitchen without breaking a sweat. Let’s get baking!
The First Time I Ruined This Dish
When I first attempted Gordon Ramsay’s Red Velvet Brownies, I was a nervous wreck. I thought I could just throw everything together and hope for the best. Spoiler alert: it didn’t work. The brownies turned out dry and crumbly, and I learned the hard way that precision is key. Ramsay’s techniques are all about finesse, and I realized I needed to simplify them for my home kitchen.
The One Ramsay Technique That Changed Everything
One technique that transformed my baking was the way Ramsay emphasizes the importance of mixing. He insists on mixing until the batter is glossy and smooth, which I initially overlooked. Now, I take my time to ensure everything is well combined, and it makes a world of difference. Trust me, this small tweak elevates the texture and flavor of these brownies!
The Must-Have Ingredients (and My Smart Swaps)
To make these Gordon Ramsay Red Velvet Brownies, you’ll need some essential ingredients. Here’s what you’ll need:
- 125g all-purpose flour
- 1 tsp baking powder
- 1 tsp salt
- 90g white chocolate chips (or chopped bar)
- 113g unsalted butter
- 43g cocoa powder
- 100g brown sugar
- 2 large eggs
- 1 tsp vanilla extract
- 10 drops red food coloring (or half the bottle like me)
For a twist, I sometimes swap the white chocolate for dark chocolate. It adds a rich depth that pairs beautifully with the red velvet. And if you’re out of eggs, unsweetened applesauce works as a great substitute!
How I Prep This Dish Without Losing My Mind
Prep is crucial for a smooth baking experience. Here’s how I keep it organized:
- Gather all your ingredients and tools before you start.
- Preheat your oven to 180°C / 356°F and line an 8×8″ dish with parchment paper.
- Measure everything out to avoid any last-minute scrambling.
My Ramsay-Style Cooking Walkthrough
Now, let’s get to the fun part—cooking! Follow these steps for perfect brownies:
| Step | Tip |
|---|---|
| 1. Preheat oven to 180°C / 356°F. Line and grease an 8×8″ dish. | Use parchment paper for easy removal. |
| 2. Mix flour, baking powder, salt, and chocolate. Set aside. | Make sure to sift the flour for a lighter texture. |
| 3. Melt butter. Stir in cocoa + sugar until glossy. | Don’t rush this step; it’s where the magic happens! |
| 4. Add eggs, vanilla, food coloring. Stir until deep red. | Feel free to go wild with the food coloring! |
| 5. Fold in dry mix. Gently. | Overmixing can lead to tough brownies. |
| 6. Pour into pan. Bake 23–25 min. Toothpick should come out slightly gooey. | Trust the toothpick test; it’s your best friend. |
| 7. Cool, frost, slice—or eat warm straight from the pan. | Warm brownies with a scoop of ice cream? Yes, please! |
Serve This Like You’re Hosting Hell’s Kitchen
Presentation matters! Serve these brownies warm, dusted with powdered sugar, or topped with a scoop of vanilla ice cream. You can even drizzle some chocolate sauce over the top for that extra touch. If you want to impress, add a sprinkle of sea salt to balance the sweetness.
Leftovers That Actually Get Better the Next Day
Leftovers? No problem! These brownies taste even better the next day. Store them in an airtight container at room temperature. If you want to jazz them up, try heating them in the microwave for a few seconds before serving. You can also crumble them over yogurt or mix them into a milkshake for a delicious treat!
FAQ
Can I use a different type of chocolate?
Absolutely! While white chocolate is traditional, dark chocolate adds a rich flavor that complements the red velvet beautifully.
How do I know when the brownies are done?
The toothpick test is your best friend. Insert a toothpick into the center; it should come out with a few moist crumbs, not wet batter.
Can I make these brownies gluten-free?
Yes! Substitute the all-purpose flour with a gluten-free blend, and you’re good to go.
What’s the best way to store leftovers?
Keep them in an airtight container at room temperature. They’ll stay fresh for up to three days!
Cook Bold Like Ramsay
These Gordon Ramsay Red Velvet Brownies are a game-changer. With a few simple techniques and a dash of creativity, you can impress anyone with your baking skills. Don’t hesitate to tweak the recipe to make it your own. Cook bold like Ramsay, and enjoy every bite!
For more delicious brownie recipes, check out Gordon Ramsay White Chocolate Brownies.
Gordon Ramsay Red Velvet Brownies
Ingredients
Method
- Preheat oven to 180°C / 356°F. Line and grease an 8x8 inch dish.
- Mix flour, baking powder, salt, and chocolate. Set aside.
- Melt butter. Stir in cocoa and sugar until glossy.
- Add eggs, vanilla, and food coloring. Stir until deep red.
- Fold in dry ingredients gently.
- Pour into pan. Bake for 23–25 minutes; toothpick should come out slightly gooey.
- Cool, frost, slice, or enjoy warm straight from the pan.